Many people don’t think twice about the way their shoes are laced and go with the default lacing style that came with the purchase of the shoes. However, different styles of lacing your shoes can help you express your personality better. Check out top 4 different ways to lace shoes!
Shop trendy and affordable shoes for men and women on Jiji
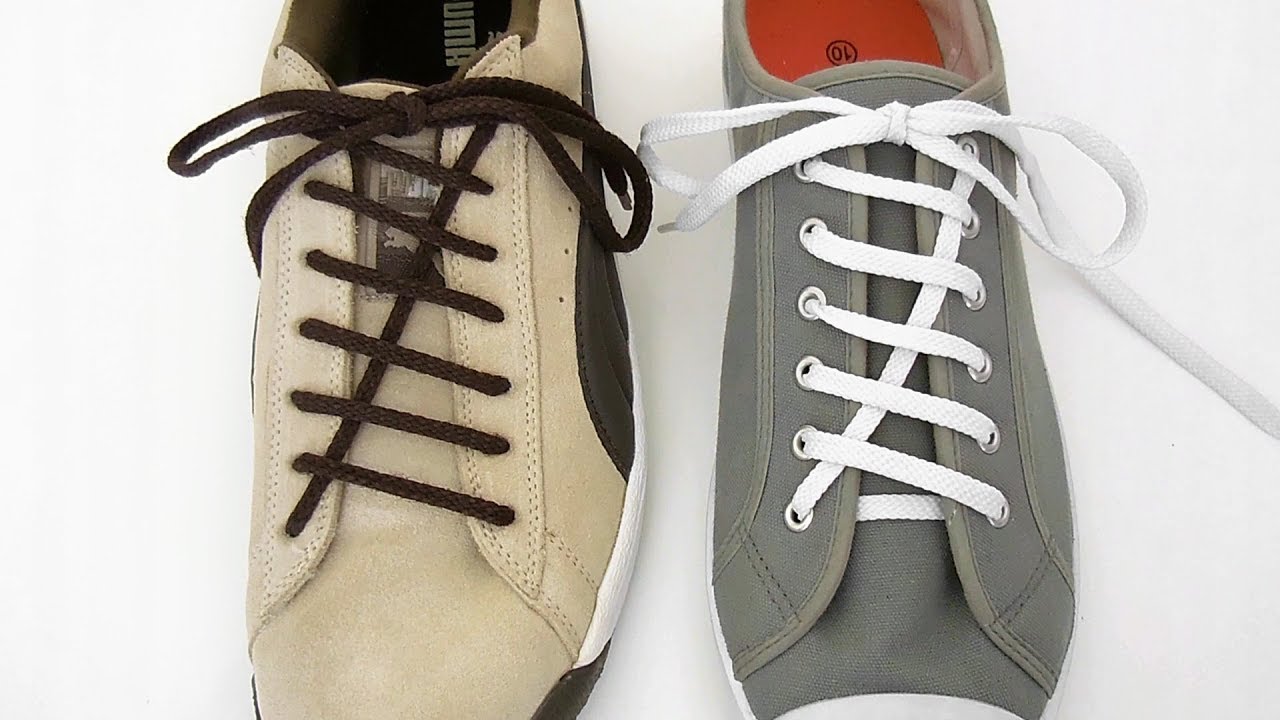
1. Straight bar lacing
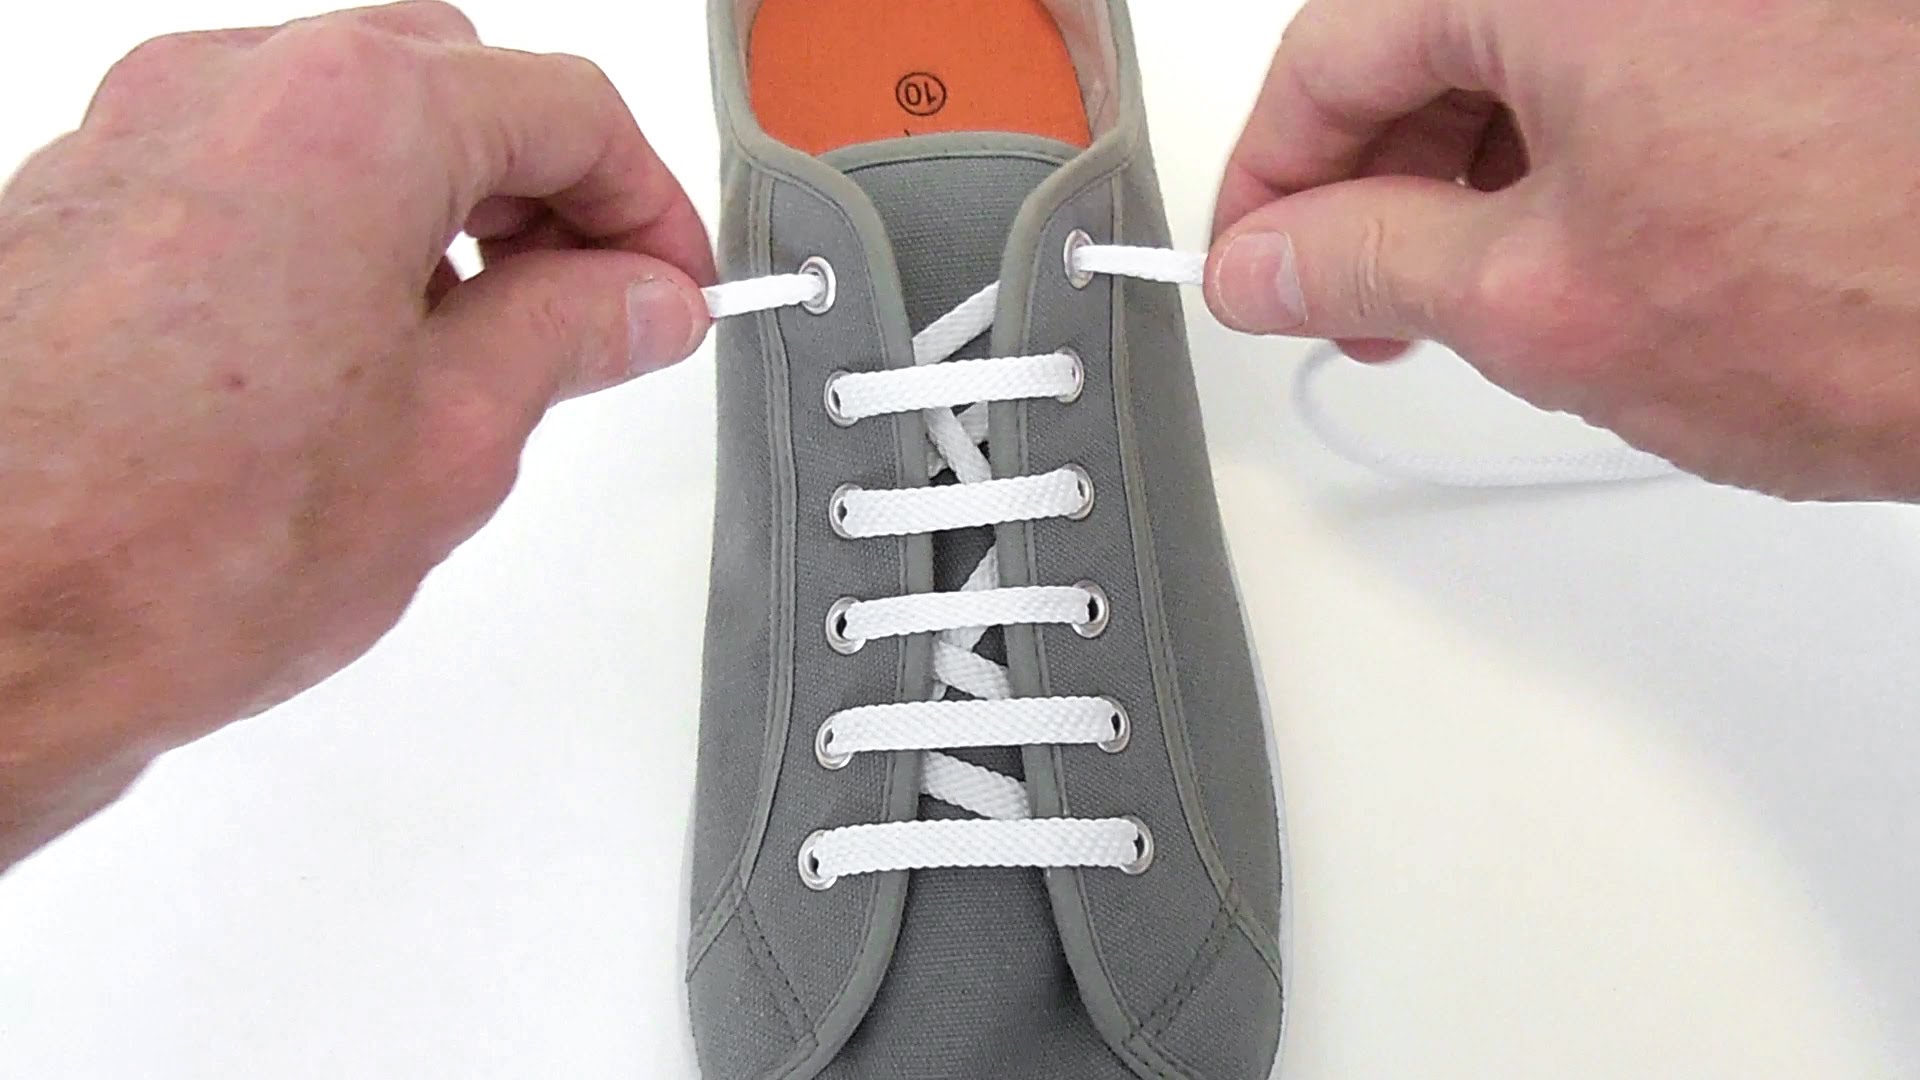
If you’re wondering how to properly lace shoes, this may be your ideal method: it’s often used by shoe photographers and designers, and is also called the Fashion Lacing. Here is how to lace shoes in straight bar style.
- Start by placing the lace on the outside and sending it in through the bottom pair of eyelets.
- Send one end of the lace through the next eyelet outside.
- Send the other end of the lace outside, skipping one eyelet.
- Continue the pattern of each lace end skipping an eyelet until you run out of eyelets.
- Tie the laces in a knot on the upper part of the shoe to finish the lacing. This is what your laced shoes should look like.
2. Criss cross lacing
The criss cross style of lacing shoes is the most popular one. Footwear is usually sold with laces arranged in a criss cross pattern, and this style fits most styles of shoes. Here is how to cross lace shoes.
- Start by placing the lace on the inside and sending it to the outside through the first pair of eyelets.
- Cross the lace ends and send them through the opposing eyelets.
- Continue repeating this pattern until the laces come out from the inside of the top eyelets.
- This is what your finished lacing pattern should look like.
3. Lightning lacing
This style of shoe lacing is called lightning not only because it resembles the shape of a lightning bold, but also because it’s super fast to lace. Follow these steps to learn one of the quickest ways to lace shoes.
- Start by sending each end of the lace from the inside to the outside through the bottom eyelet.
- Send one end of the lace through the last eyelet on the opposite side from the outside to the inside.
- For the other end of the lace, repeat the pattern of sending it up and across and then down and across so that the lace is arranged diagonally and is sent through every eyelet.
- Complete the pattern by making the two ends of the lace meet on the inside. This is what your finished lacing should look like.
4. Quick tight lacing
If you’re all about quick lacing and instantly ensuring the right fit for your shoes, you’re guaranteed to love what someone call the best way to lace shoes – quick tight lacing. Here are the steps to recreating this look.
- Start by sending the two ends of the lace through the bottom eyelets from the outside to the inside.
- Run one end of the lace diagonally across through the middle right eyelet. Then send the lace through the opposing eyelet.
- Send the same lace end through the upper across eyelet, then again through the opposing eyelet. Continue until you reach the top eyelet.
- Repeat the same zig-zag pattern for the other end of the lace.
- When you reach the middle eyelet, send the lace diagonally through the top eyelet. Tie the two ends together. This is what the end result should look like.
Find the best money-saving offers on fashion and style on the Jiji app