Jiji is a site, where you can find and create hundreds and thousands of free ads for everything you want. It creates a great opportunity to start your own small business. For example, Jiji is a great platform for selling handmade creative things.
One of such things is a paper wallet. Not only paper wallet making is easy, it serves its purpose very well – it is really durable, eco-friendly (you can easily repurpose it after it becomes unusable) and you can use it as a kind of notepad too! So, here is how to make paper wallet step by step.
Follow the modern trends with fashion on Jiji! Buy and sell handmade accessories easy with the Jiji app!
1. Materials
The first thing you need to know before learning, how to make a wallet out of paper with pockets, is what materials you will need to do so.
Basically, all you will need is a sheet of thick paper (A4 paper size) and some tape (preferably transparent or the same color as the paper). This amount of material means that you won’t have to spend a lot of money to make your own wallet, so you’ll be able to make a lot of them easily!
2. How to make a paper wallet with 5 pockets
Making your own wallet out of paper requires precision, that’s why you need to follow the next instructions very closely not to mess up your finished product. Here’s what you need to do:
2.1. Prefold the paper
First of all, you need to divide your sheet of paper into 4 parts and fold it. Fold it along its shorter side, and then fold the edges to the middle of the sheet inwards. Your piece of paper should look kind of like a sandwich.
Then fold this sandwich again, this time perpendicular to the folds made before. To make your job easier, put something heavy on the folded paper for at least a few minutes.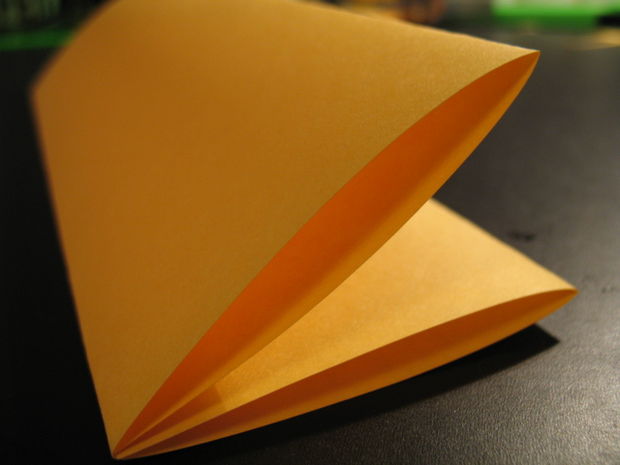

2.2. Cut and tape
Unfold the paper and make 1.5-2 cm long cuts on the edges of the folds on the longer sides of the sheet.
Also, you’ll have to cut the 1.5-2 cm wide cut through the middle of the bottom fold and a diamond-shaped cut through the second fold from the bottom (black lines on the picture).
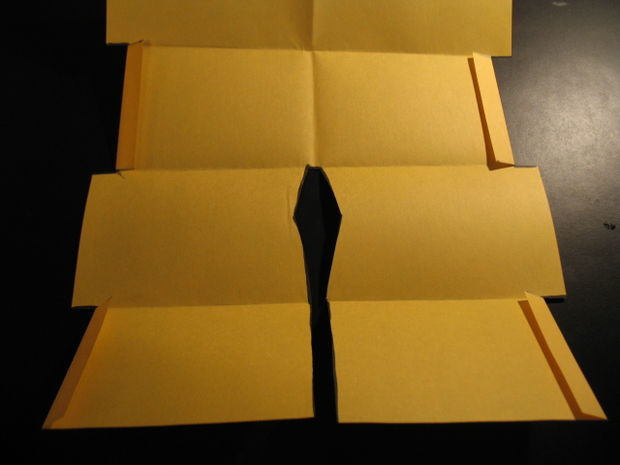
Fold the edges of the long side (first and third fold from the bottom) inwards. Then, tape the edges of the bottom cut together. Now, fold the sheet back.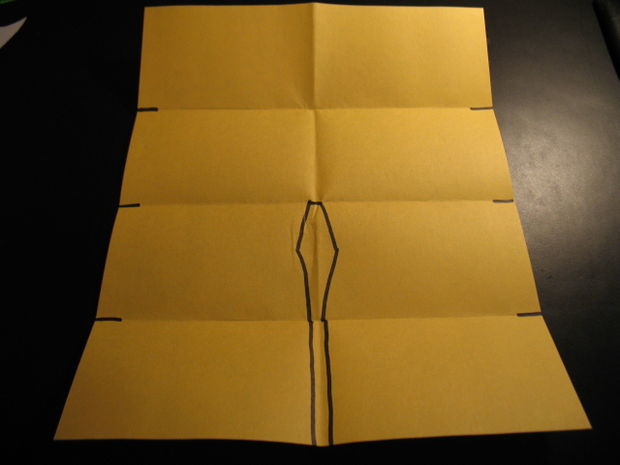
2.3. Fold the edges
Now for a kind of a tricky part. To prevent your wallet from falling apart, you will need to fold its edges. Right now, on the edges of the long side of your future wallet, you should have two pieces of paper that stick out – one on the inner side and one on the outer, and two pockets – also the inner and the outer one.
What you should do is to fold the inner piece of paper into the inner pocket and the outer piece of paper – over the inner parts and into the outer pocket.
This way your wallet will hold together and it will also create additional pockets for your credit cards. You can put tape over the fold to prolong the life of your homemade wallet.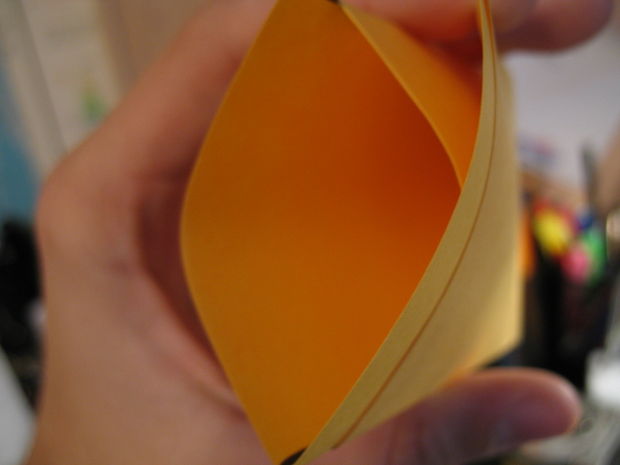

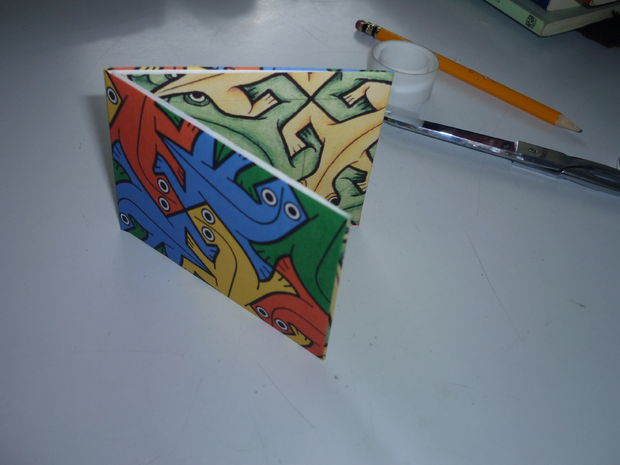
3. Decorate
Your wallet is basically ready! Now it is your choice – to leave it blank and to use it as a notepad or to make it more unique and draw something on it. If you have some talent, you can really create a piece of art out of your wallet.
This will greatly improve the paper wallet design and, if you will sell them, will definitely make it a more valuable product.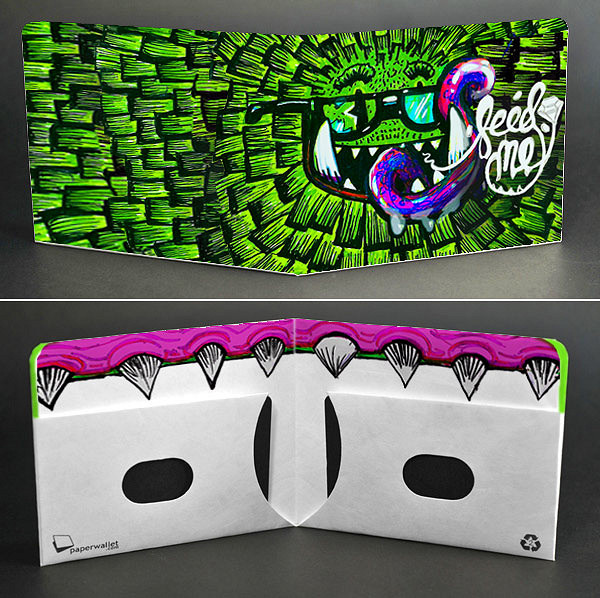

If you want to look gorgeous, follow the fashion on Jiji! Use the Jiji app to create your own small business!