If it seems that all the baby outfits in the stores don’t look too good, time to find out how to sew a jumpsuit for baby. Here are some baby sewing patterns and step-by-step directions. So let’s learn how to sew a jumpsuit for baby and make something awesome!
Some tips before you start
- The seams should not be thick, especially if you are dealing with summer jumpsuit or baby romper pattern.
- The fabric may contain a small percentage of synthetics to make sure it doesn’t shrink after laundry. Still, summer jumpsuit should be breathable, while a demi-season one can go with breathable lining.
- Before cutting the fabric, wash it in warm water. Thus, you will check whether the fabric shrinks and prevent unpleasant surprises.
- Go with the simple cut so your baby will feel comfortable.
- Touch and close fasteners are easier to attach compared to zippers, but they are also easier to unsnap for older kids.
How to cut a jumpsuit
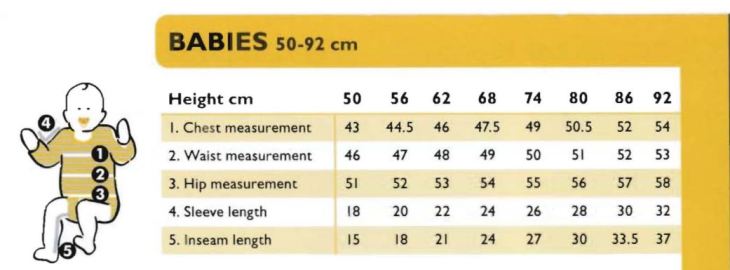
Baby jumpsuit cutting and stitching is actually not that difficult. You can make a paper pattern for home dressmaking on your own. For this, you’ll need to do some of the following measurements:
- height;
- back length;
- sleeve length;
- neck circle;
- chest;
- waist line.
You may also need scye depth, arm and leg length, wrist circumference. Add 4 to 5 cm on sleeves and leg for hems. Dressing patterns usually come without over-measures, don’t forget about additional 1-2 cm.
A jumpsuit consists of front and back parts (each can comes as one-piece or two-pieces detail), pants legs, sleeves with wristbands, and a hood.
Steps to cut jumpsuit (and sew it)
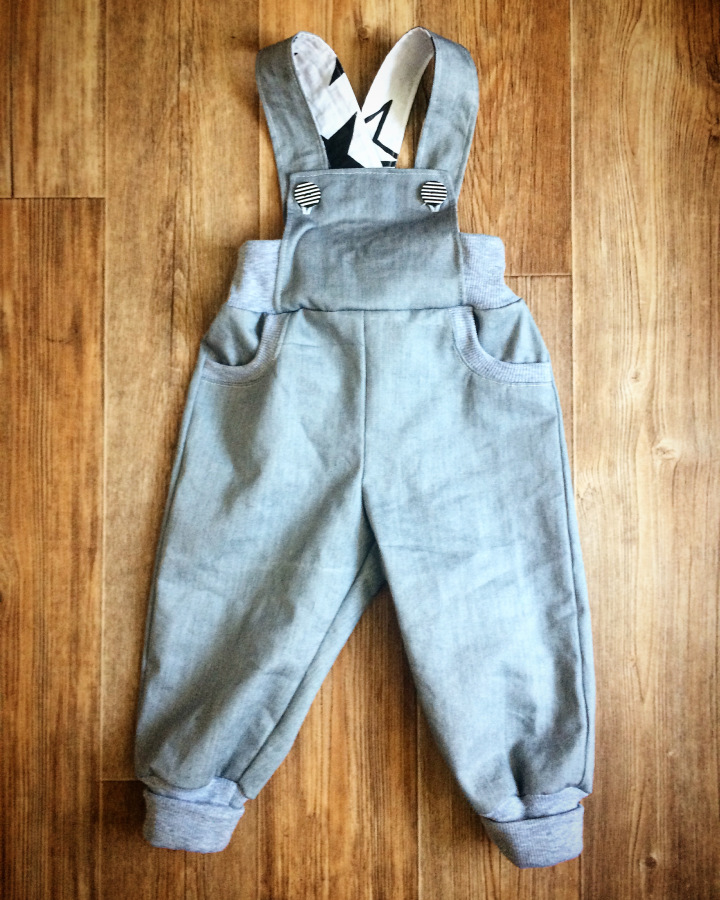
Materials
- main fabric;
- knit rib;
- woven interfacing;
- two big buttons;
- elastic band (20mm-wide, up to 30cm-long);
- sewing appliances;
- sewing pattern (download one here).
Directions
Print the pattern and cut the size you need.
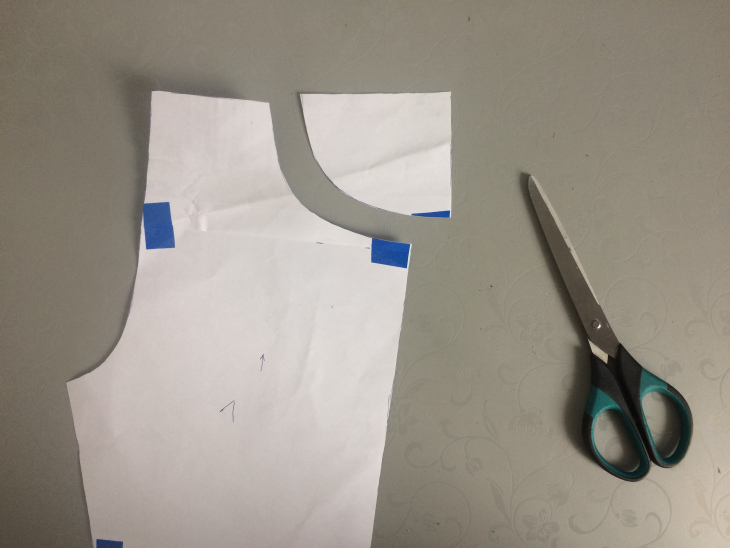
Cut an upper corner from a detail like it is illustrated on a picture.
Cut form the main fabric:
- front – 2 details and a corner, two of each
- back – 2 details
- yoke – 2 details
- straps – 2 details
Cur from knit rib:
- belt – 1 detail, bended
- piping – 2 details
- cuffs – 1 details
Cut from woven interfacing:
- yoke – 1 or 2 details, depending on fabric thickness
- 6x5mm square for sewing a button
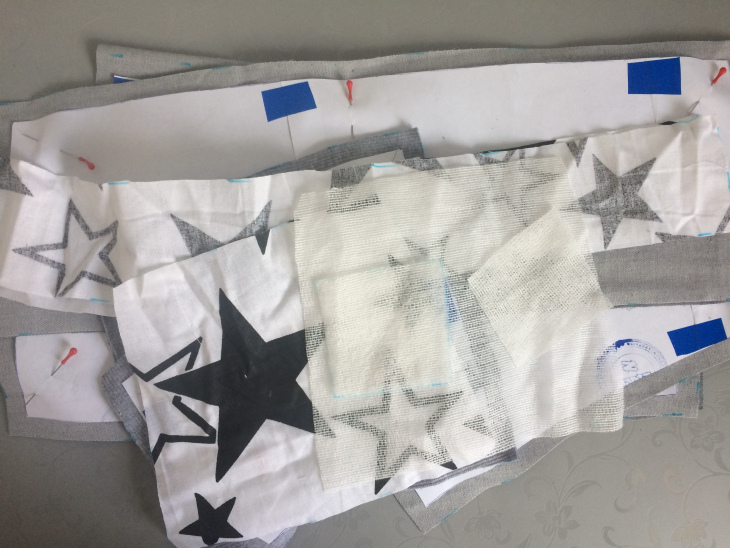
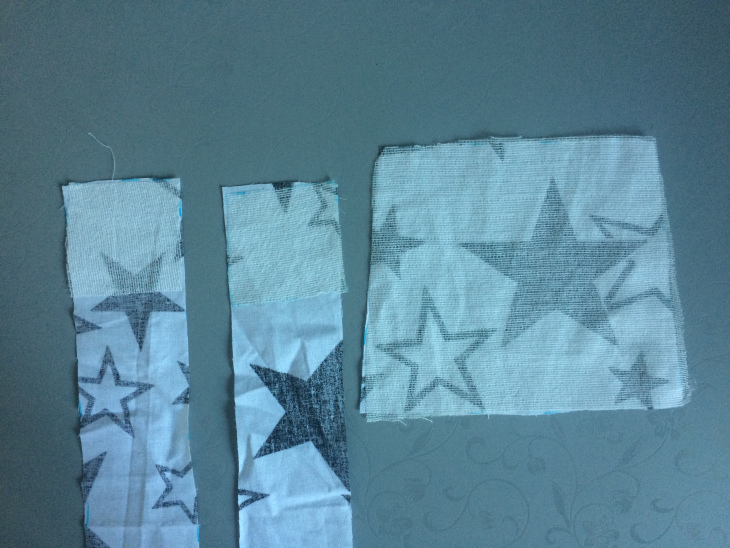
Fold each pocket stitching along its long side, with lining inside, pin it. Put a detail on a table facing you. Pin a pocket and sew everything together.
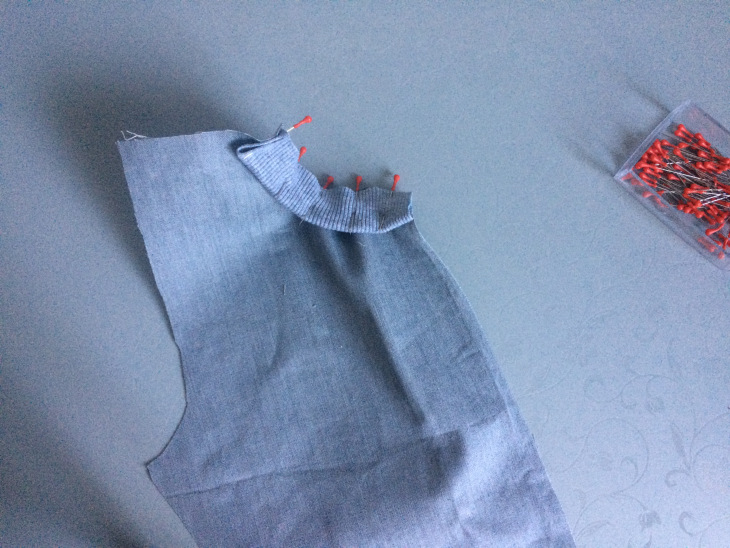
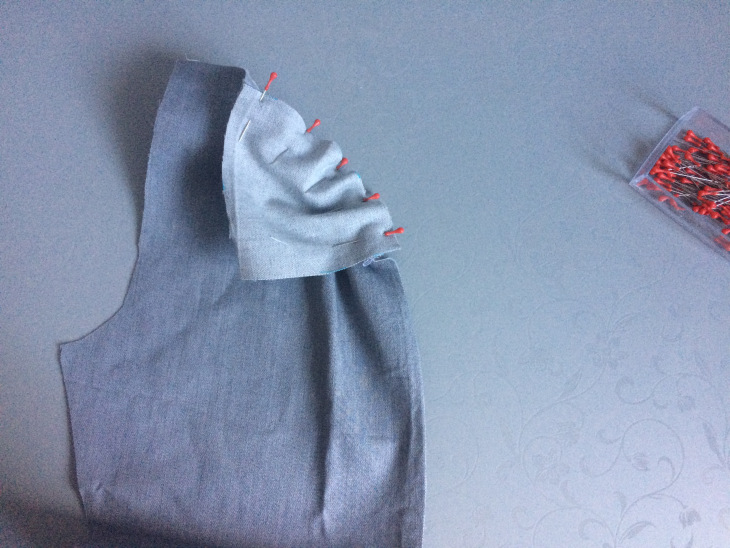
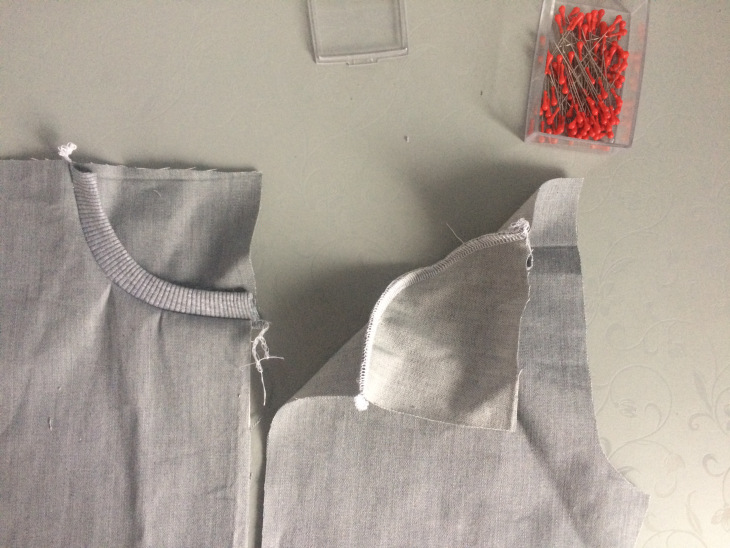
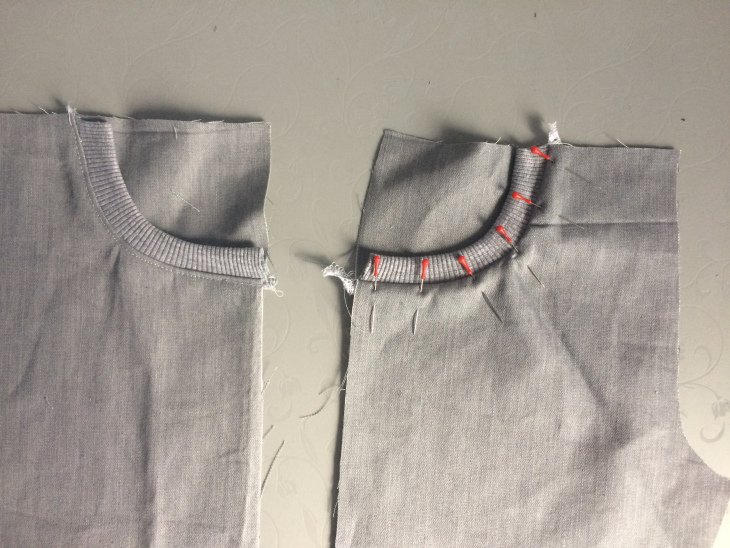
Sew the leg parts. Then sew the cuffs, making the circles.
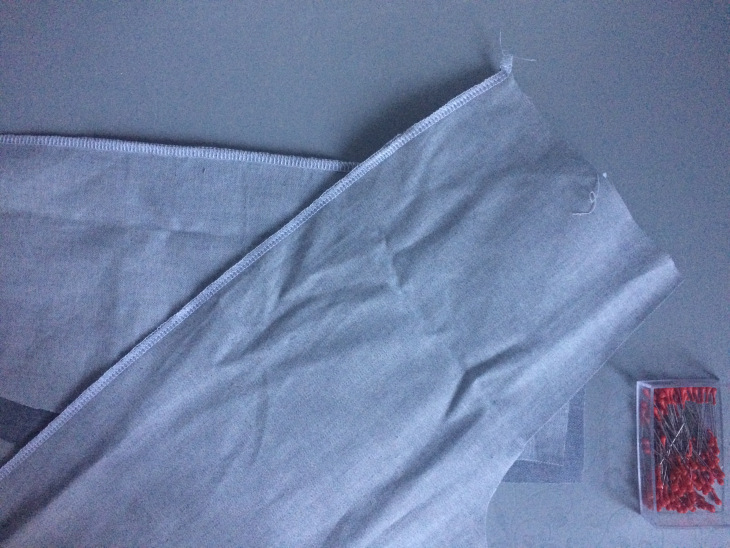
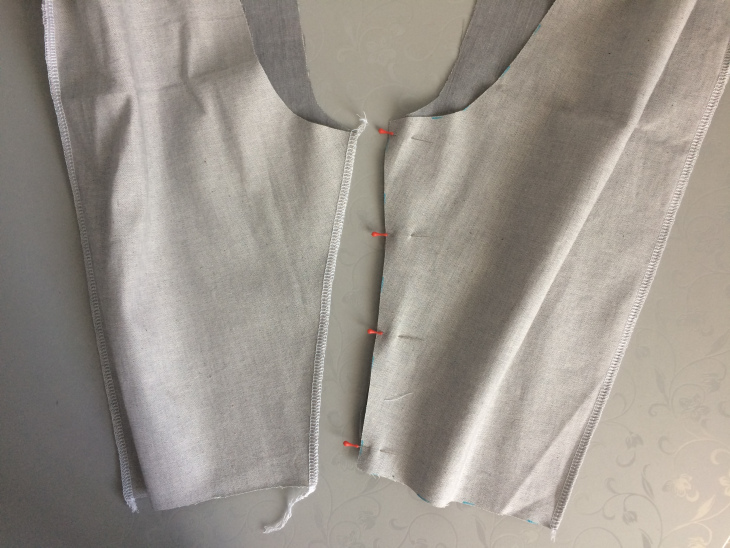
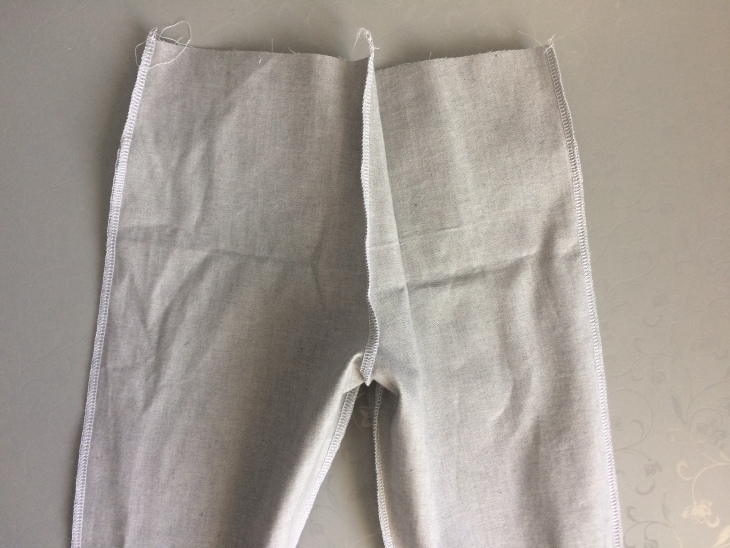
Fold the cuffs with lining inside. Put them inside the leg parts and sew.
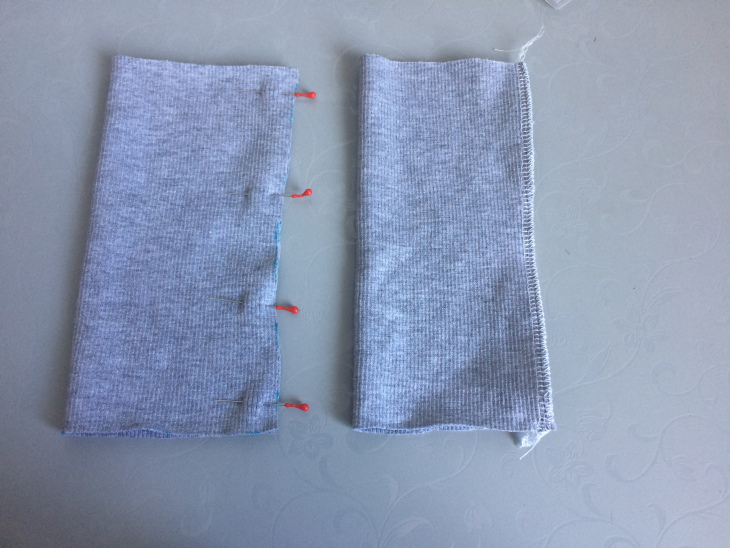
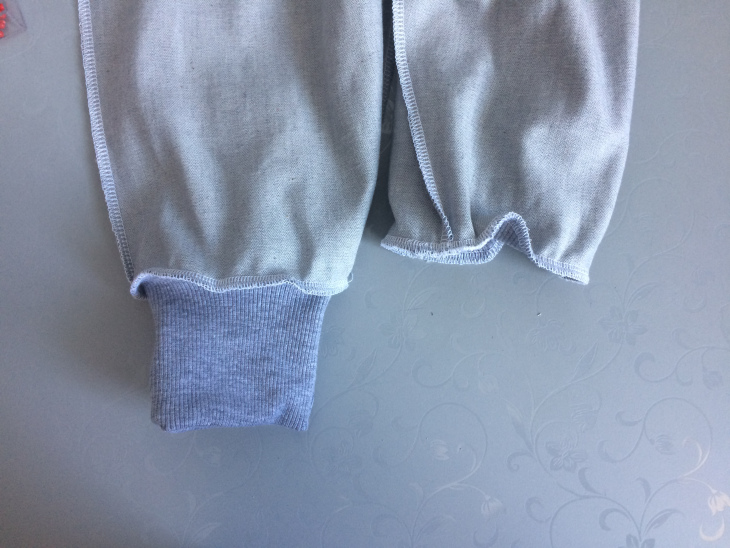
Fold the belt. Put an elastic band inside and fix at the edges.
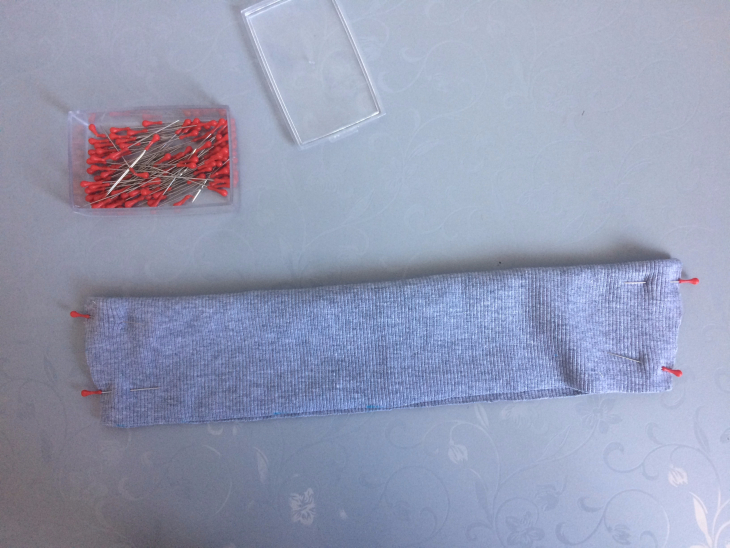
Attach a belt to a yoke. Sew the details.
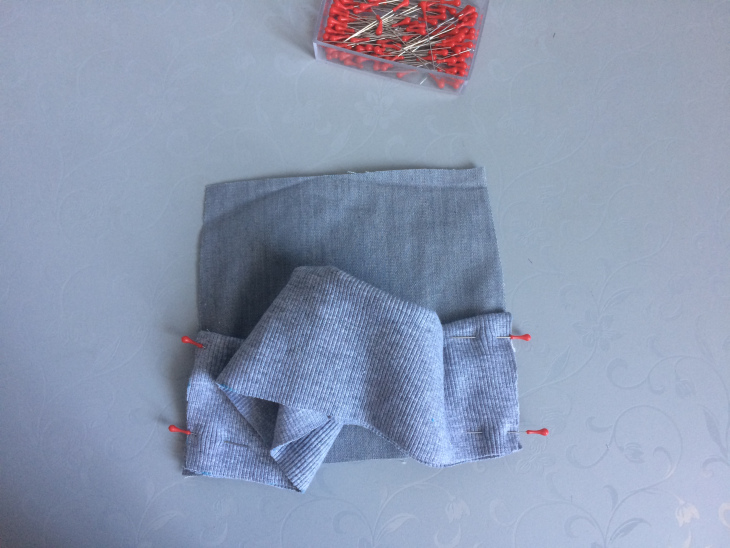
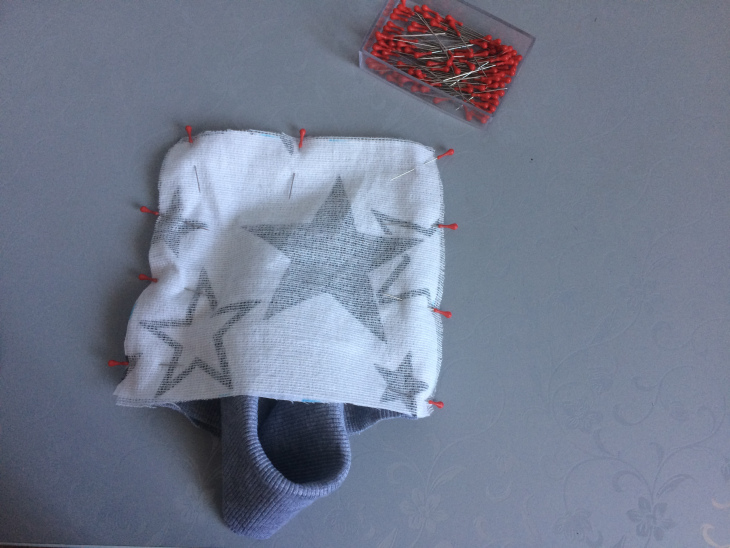
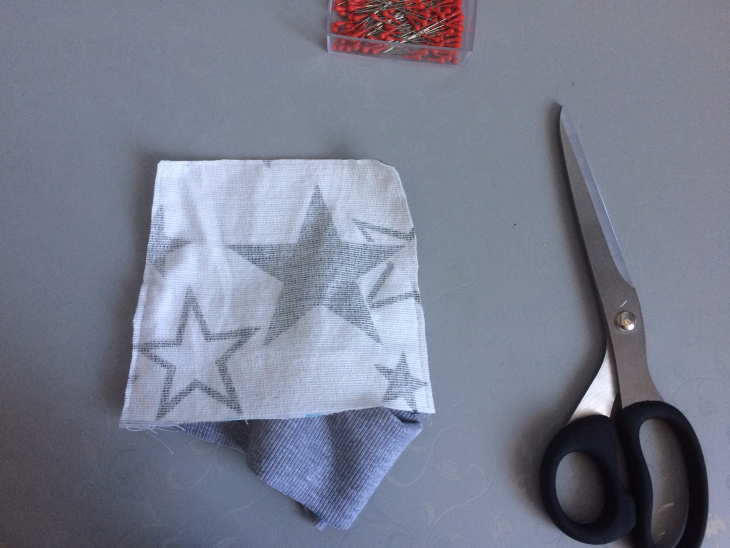
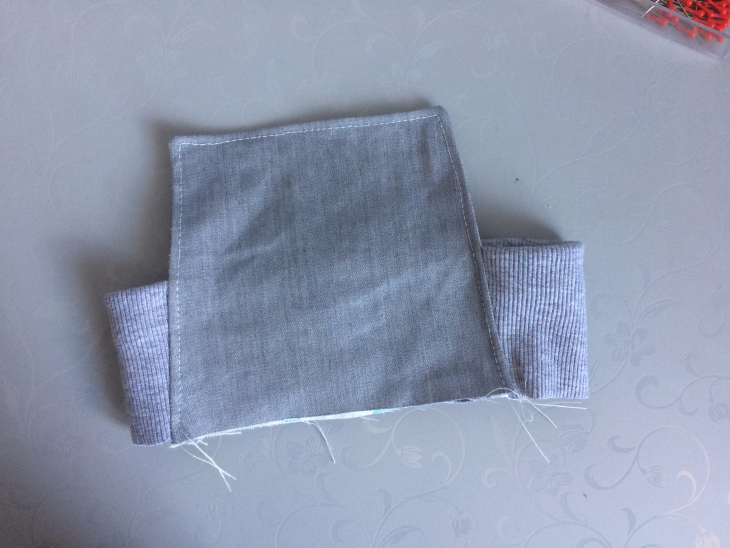
Add finish stitching next to the edges.
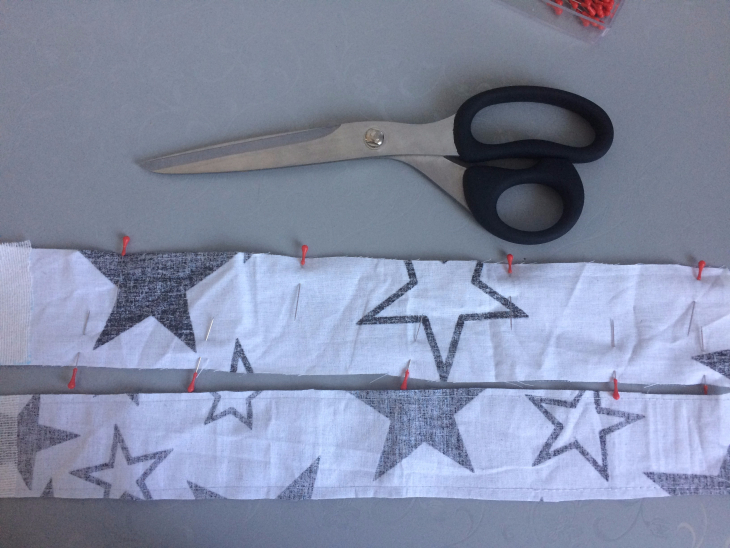
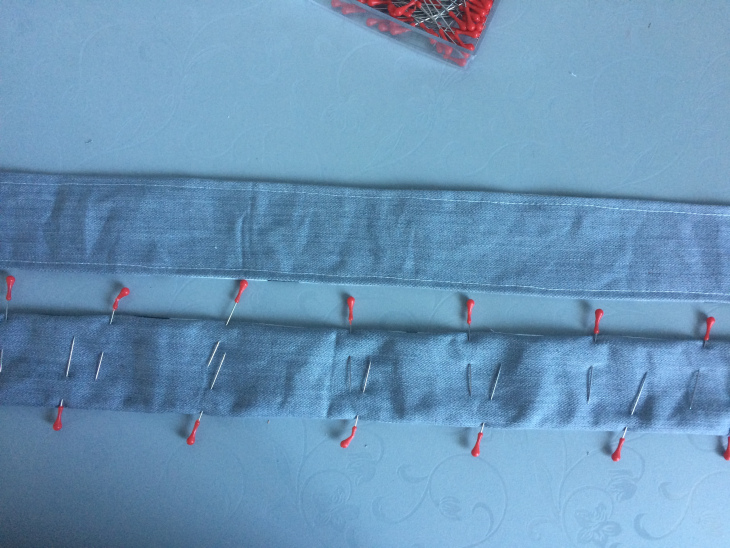
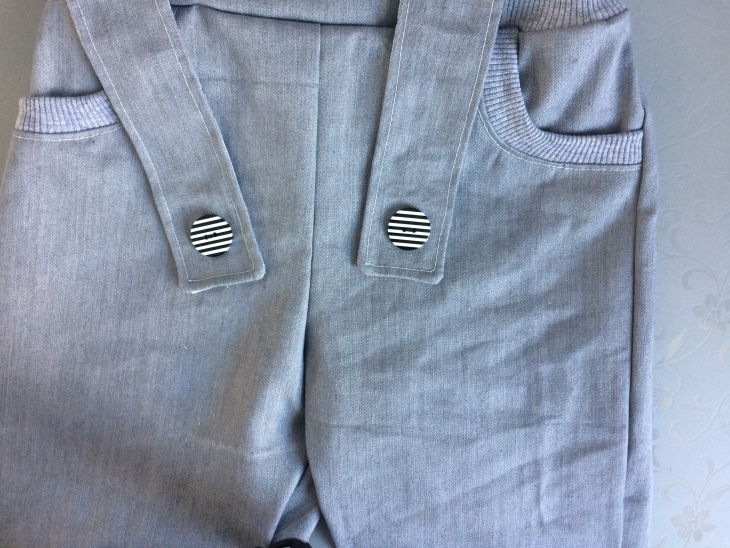
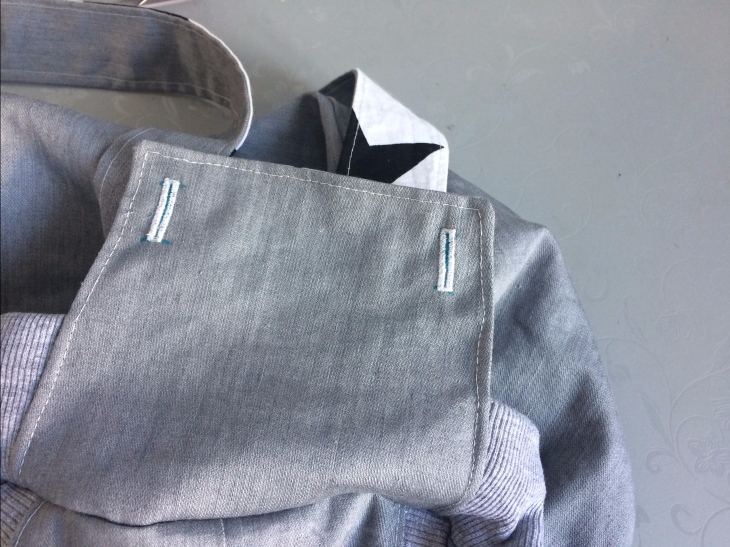
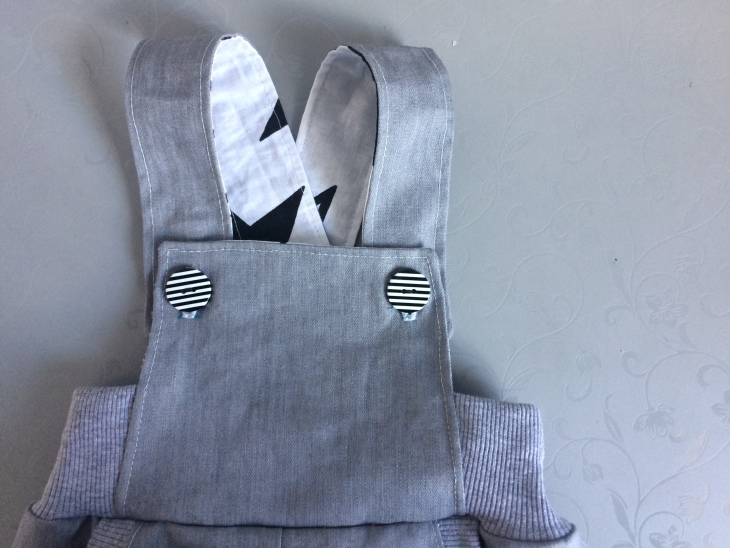
Stitch the straps. Attach them to the belt 3 cm from the center.
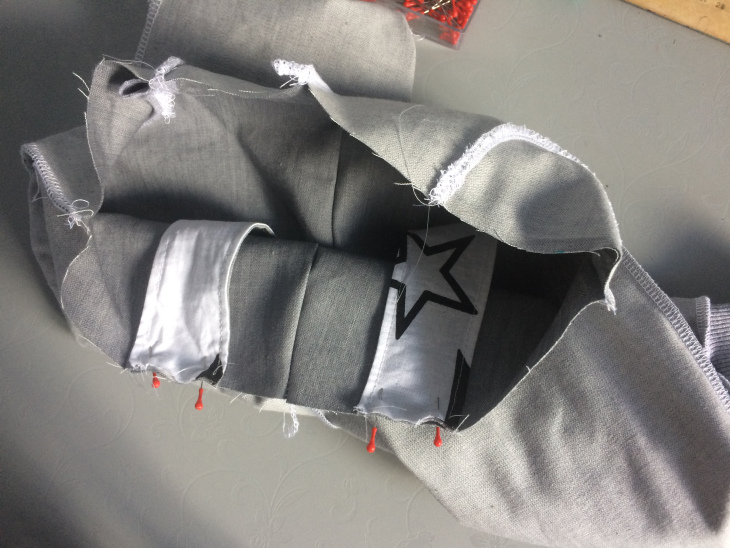
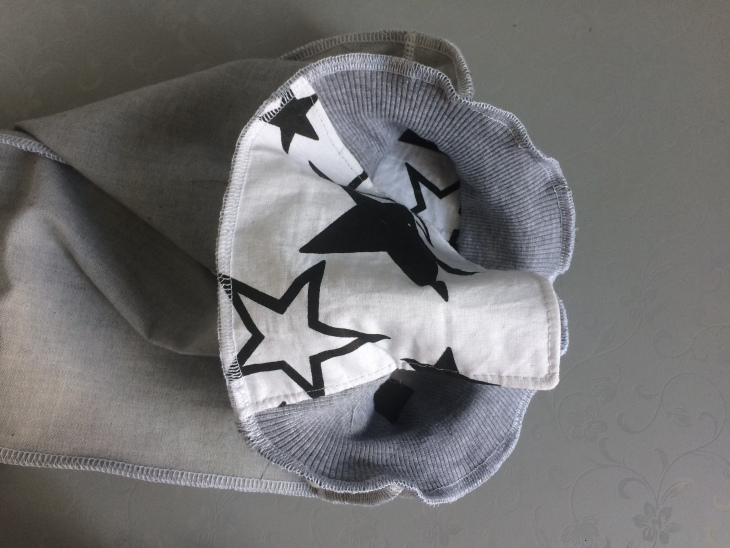
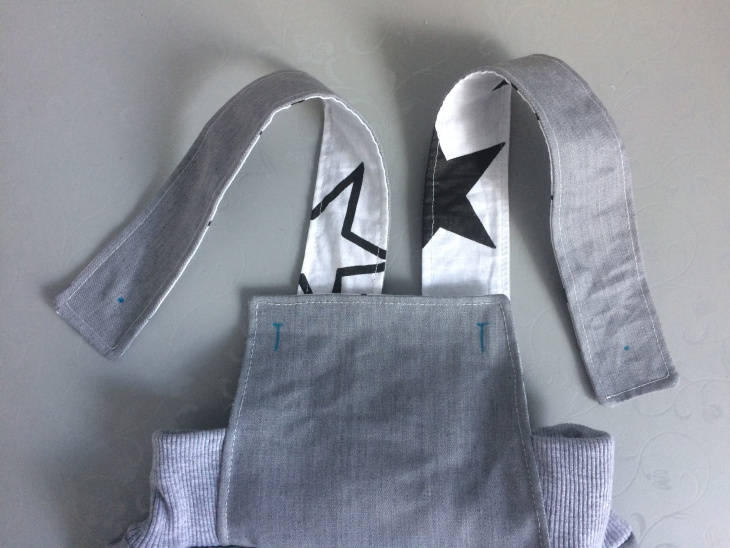
Attach the buttons.
Summer jumpsuit
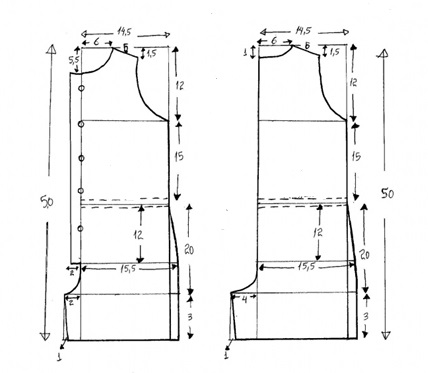
Jumpsuit is a perfect clothing option for hot weather for both girls and boys. It will be comfortable for active kids, who like to run around and play outside. Here is a simple variant of a short-sleeved jumpsuit with buttons for 3 to 5-year-old kid.
Denim jumpsuit
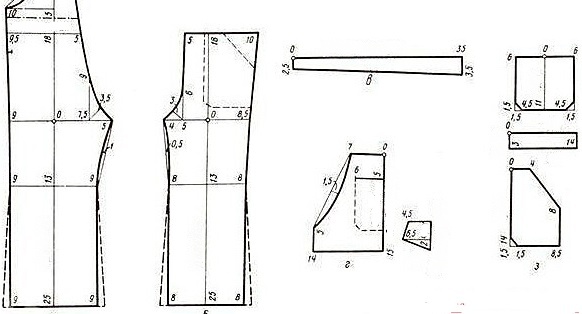
This pattern will be perfect for 5 to 7-year-old girl. You can wear it for different weather. Stretch denim fabric is the best option, just buy specific needle and threads for sewing. You can decorate the jumpsuit with contrasting turn-ups or a belt tied into a bow.
A few words about decorations
- Decorative elements should be easy to separate, especially if the child is little.
- Decorations shouldn’t be painted with synthetic paints that washes down easily.
- If you want to use embroidery, prepare it before the details are sewed together. Pockets, sequins, and other decorations can be added later, it’s up to you.
- Thermal transfers in a form of ships, flowers, leaves, and animals look awesome and are easy to apply.
- Don’t be too enthusiastic when it comes to decorative elements. A patch pocket with an ornament is usually enough. Think about how you are going to wash the jumpsuit. Choose things that are difficult to tear off or damage.


