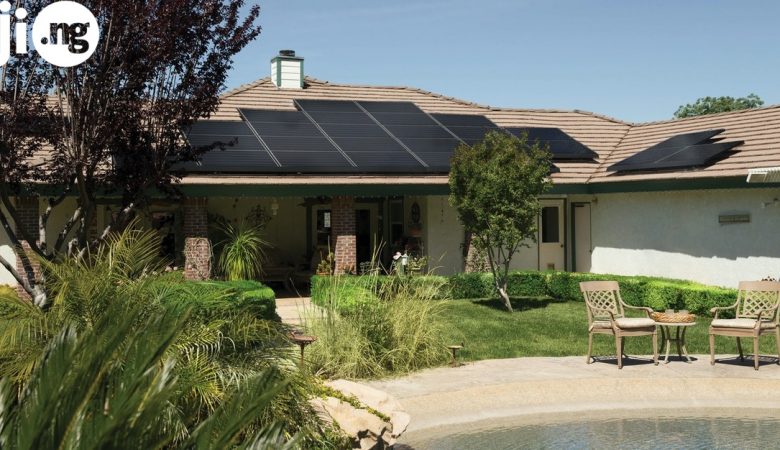
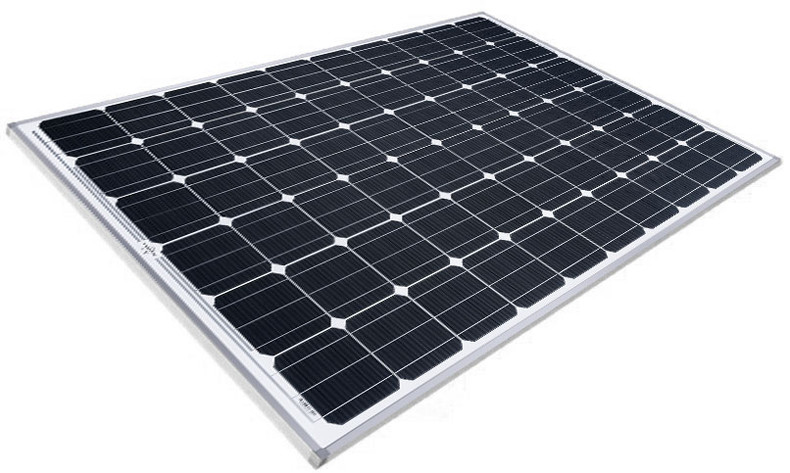
Alternative sources of energy are popular more than ever right now. Oil and coil resources are dwindling, furthermore, while we use them, we really harm our planet. That’s why scientists all over the world are trying to figure out the way to get energy from naturally renewable resources, like sun, wind, Earth’s core and more. Solar energy has recently become most popular of the bunch, because now there are solar panels, that anyone can use. Here’s how you can build one for your home. Or you can always buy a solar panel on Jiji!

Using solar panel for home, you get “green” energy, which means, that you basically reduce the pollution of the Earth. But even if you don’t care about an ecology, you will only benefit from solar panels, as, in a sunny day, they can power your whole house and reduce the amount of energy you consume overall – you’ll pay for it less. Commercial solar panels are pretty expensive, so you’d better make one on your own. Here’s what you’ll have to do:
1. Get the solar cells
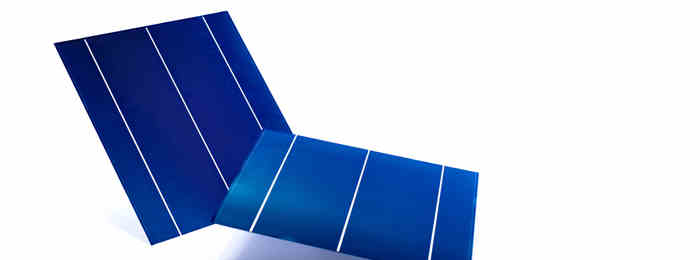 There are a lot of different types of solar cells, but one of the best in terms of efficiency to cost ratio would be polycrystalline ones. You should calculate the number of them according to the energy you’re looking to get. Get a few extra, as they are very fragile. Some manufacturers ship them, coated in wax. If that’s your case, dip them into hot (not boiling) water.
2. Make a base
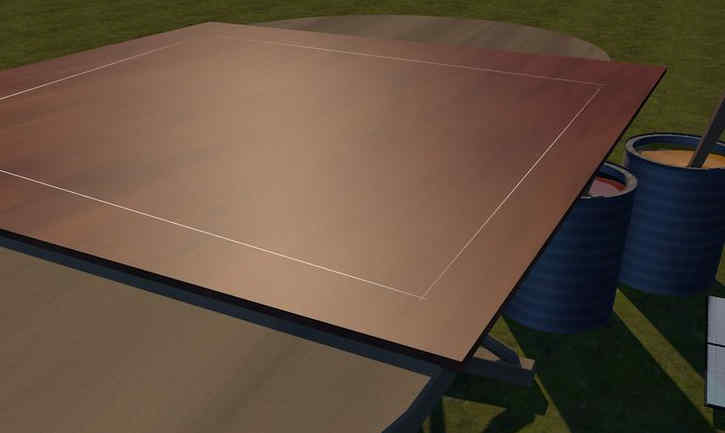 A base should be made out of non-conductive material. Measure it in accordance to the layout of your cells and a few centimeters for wires.
3. Solder the wires
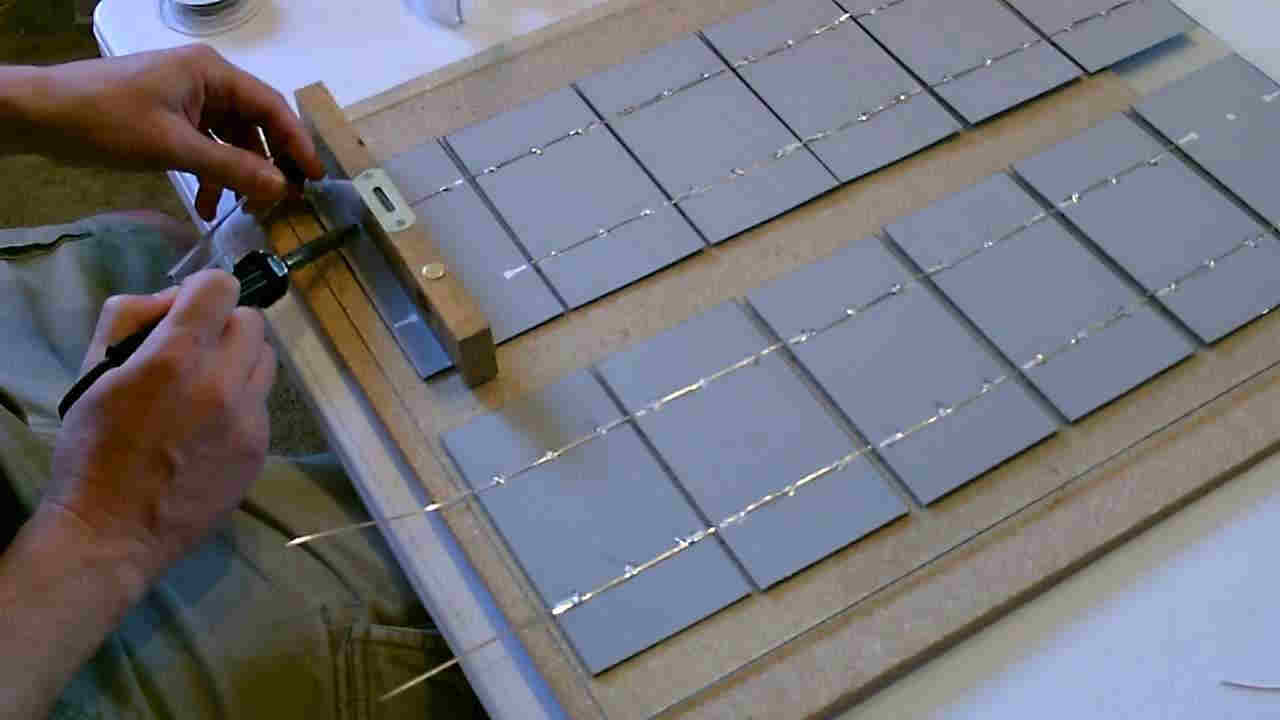 Each solar cell should be connected to run down the two lines on the back of the cell (large ones) and to the next cell. Measure appropriate amount of wire and solder it to the back of the cells. You can use pre-soldered tabbing, which will save you some time.
4. Glue the cells to the base
Use a small amount of glue and press the cell onto its place. Make sure all the wires are in straight line with ends sticking out the end of each row. Plan their arrangement to have fewer number of rows, better make them long.
5. Connect the cells
 Use long bus wire to connect the rows to each other. On the ends, connect it with a short bus wire. Add extra tabbing wire to the rows, that need it.
6. Make a box for your panel
Make sure it has enough space for bus wires – add approximately 3 cm for each dimension. Use screws (at least 3 for each side) to connect the parts. Paint the box into some reflective color, which will keep it from overheating and ultimately improve panel’s performance.
7. Connect the bus wires
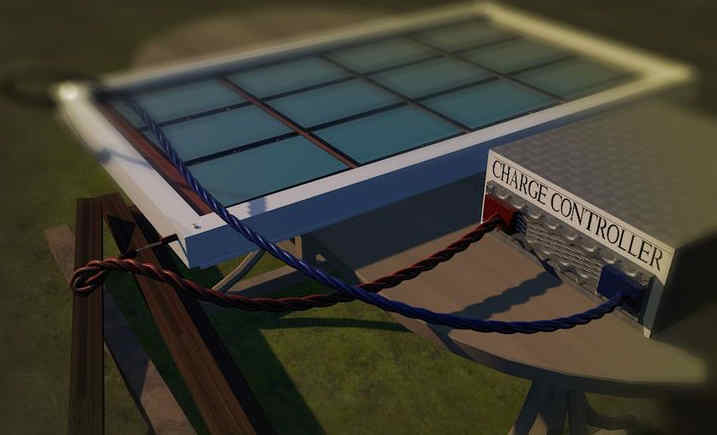 Attach a diode with a voltage, little higher amperage than that of a panel to a final bus wire. Connect all the cell’s bus wires correctly to the charge controller. Connect the charge controller to your batteries and use them, whenever you need.
8. Cover the cells with plexiglass
Make a hole in the glass for the wires. Completely seal the panels with silicone sealent. Mount the panels on the roof of your house or on a trolley to change its position during the day.