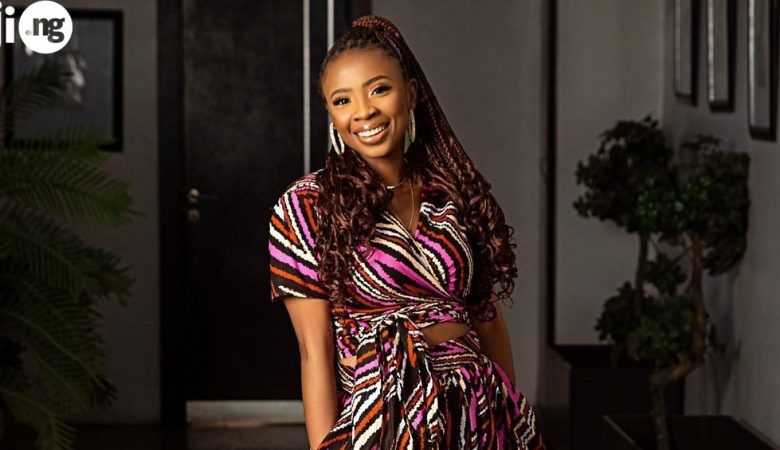
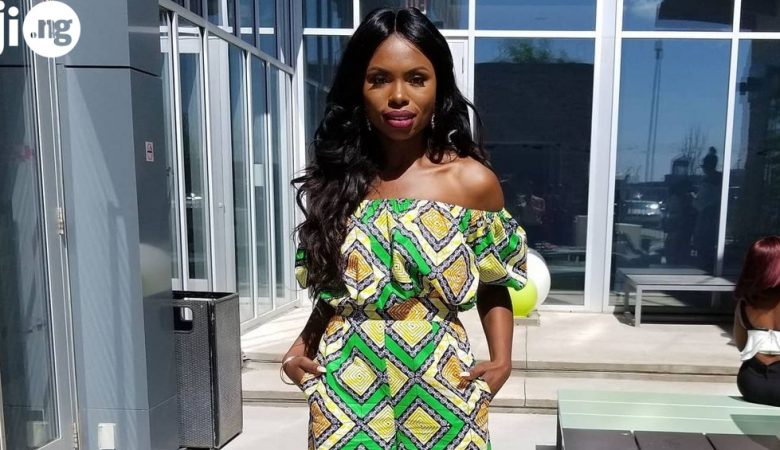
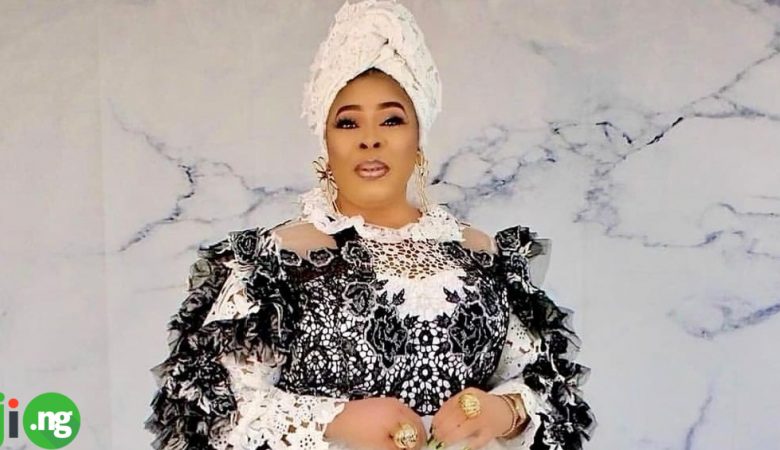
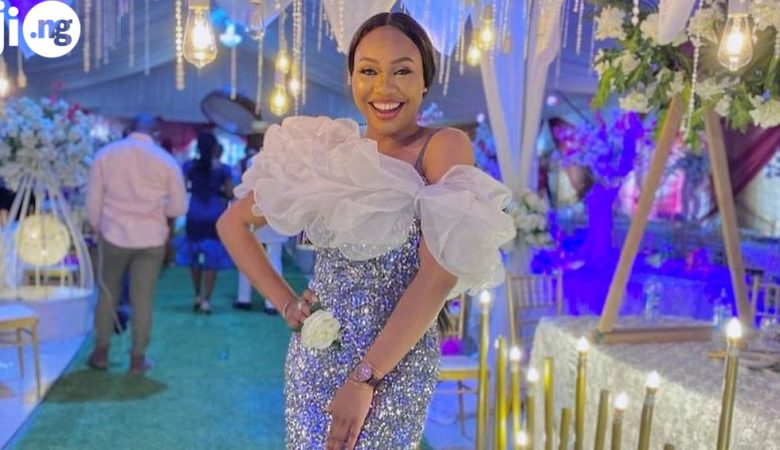
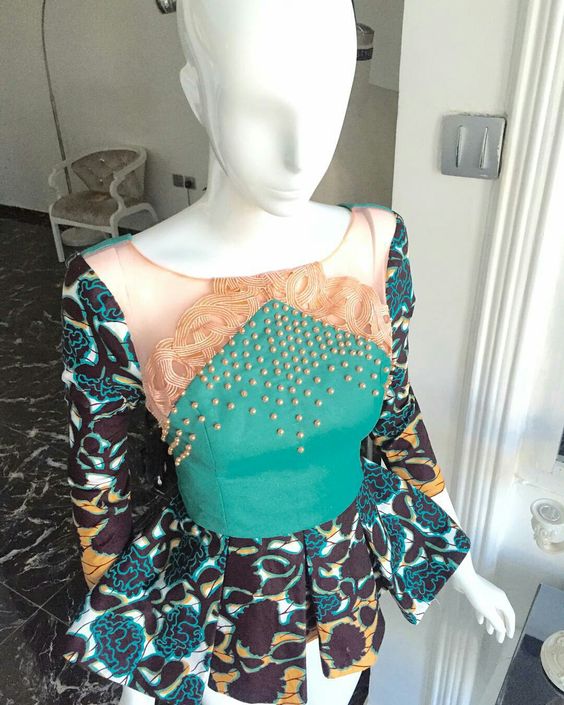
A padded blouse is a gorgeous and versatile top that you can wear with all kinds of skirts and trousers. If you want to own a unique, perfectly fitted padded blouse, you can make your own specially designed blouse! Find out how to cut padded blouse step by step!
Find your ideal padded blouse on Jiji and never overpay for fashion again!
1. What you’ll need
This particular padded blouse cutting method is the easiest method for sewing your own blouse – instead of taking a dozen of measurements and going through a complex cutting a sewing process, you will use your old blouse as a padded blouse pattern.
Ready to learn how to cut and sew padded blouse? First check the list of tools you’ll need and make sure you have everything at hand!
- Sewing machine
- Fabric of choice
- Lining fabric (if you’re using transparent fabric of choice)
- Old top
- Scissors
- Breast cups
- Pins
- Sewing machine
2. Making a pattern
The easiest way to make a padded blouse is to make one without a zipper – in that case you will need to make the blouse a little wider so that you can easily put it on over your head. Fold your fabric in two and put your old blouse on top.
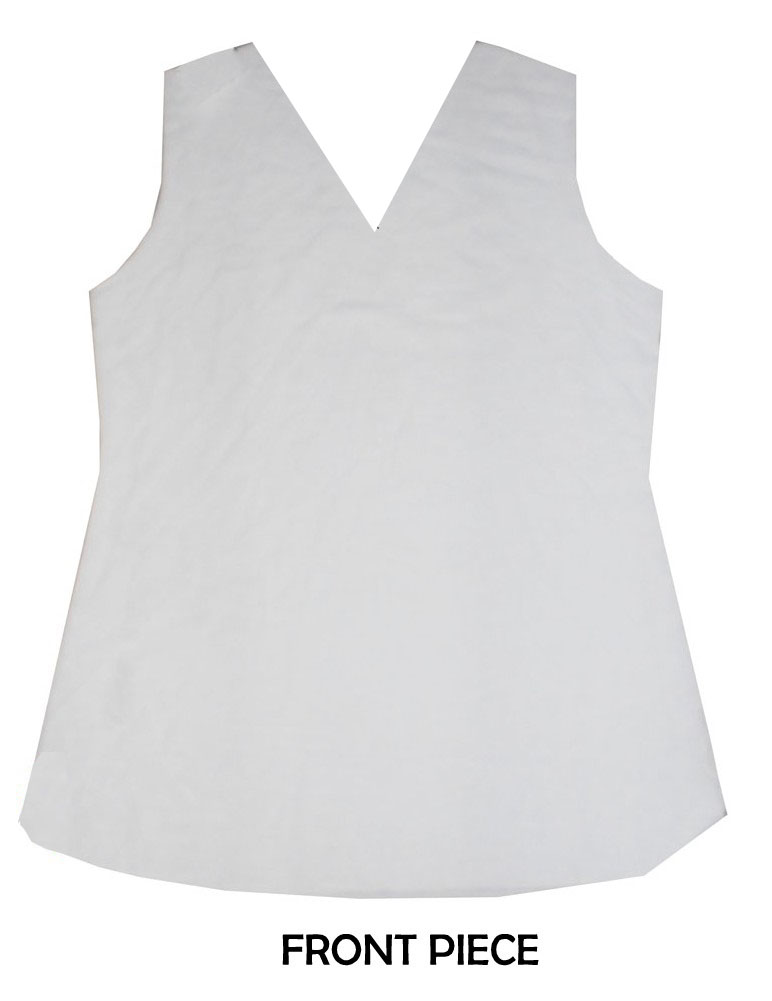
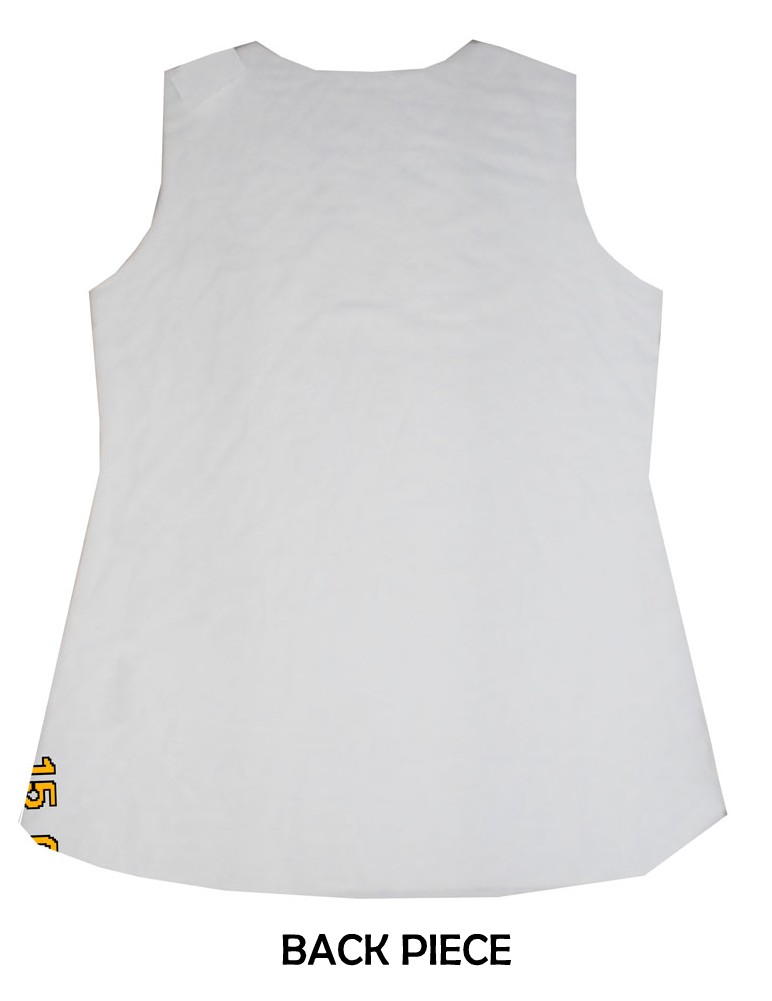
Trace the blouse, adding 2 inches on the sides and 0.5 inches on the top and bottom of the blouse. When you’ve correctly traced the blouse, cut through the lines. Take the front piece of the future blouse and create a neckline – for example, make it V-shaped. If you’re using lining fabric, cut it using the same pattern.
Now cut the pieces of fabric required for attaching breast pads. Use the same pattern as in the previous step, only this time don’t go all the way down – these pieces should be about 3/4 long and end at the waistline.
Read also: How to make a bustier dress
3. Sewing the blouse
Now that you know how to cut padded blouse in Nigeria, time to learn how to sew it! Follow these steps to assemble your first ever padded blouse.
- If you’re using lining fabric, attach it to the main pieces of the blouse using a basic stitch.
- Stitch around the neckline, armholes and bottom of the two pieces of the blouse.
- Put the back piece right sight down and the front piece right side up. Sew along the side and shoulder lines.
- Now it’s time to attach the breast pads to the fabric. To do it, take your under bust and upper bust measurements.
- Take the front 3/4 piece and attach the breast pads with pins to secure them in one place prior to stitching.
- Sew the breast pads to the fabric using a sewing machine and the measurements you’ve taken in the previous step.
- Join the front breast pad piece with the back piece, making sure the neckline, shoulder line and waistline align perfectly. If you want a more fitted silhouette of the blouse, you can attach an elastic tape to the waist of the blouse.
In the end, this is what your padded blouse should look like. The final look of the blouse will largely depend on the pattern you’ve used – in this case, the shape of the blouse you used for tracing your new blouse.
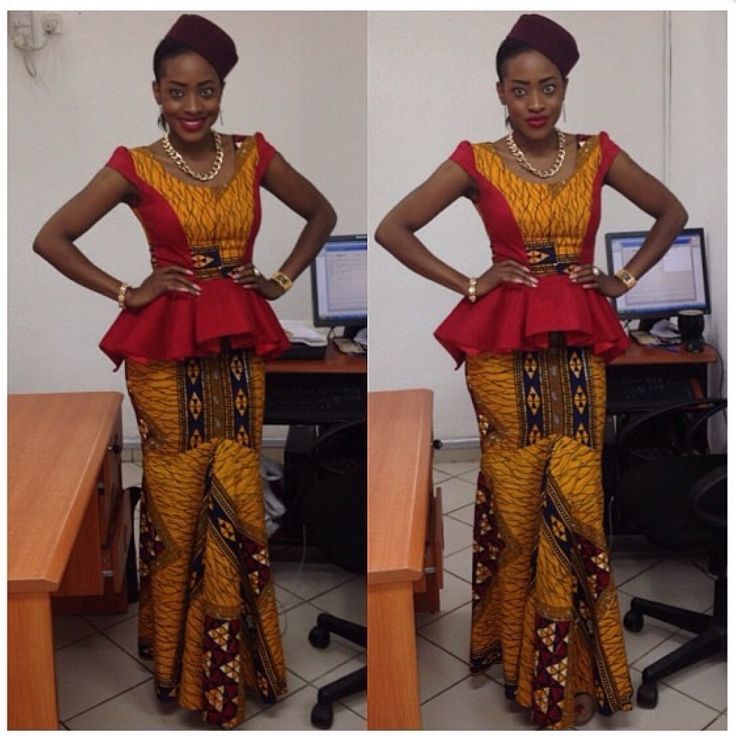
This is how to make padded blouse using the easiest method ever. Not sure if you have the sewing skills to ace this challenge? Then look for your perfect new padded blouse on Jiji and get a beautiful new garment without any work at all!
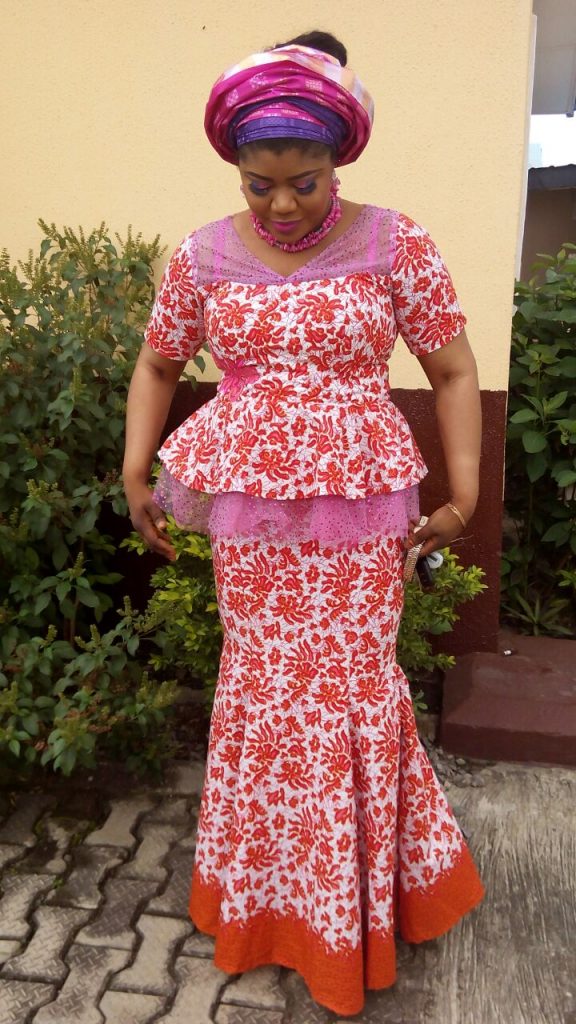
Upgrade your wardrobe with the Jiji app and save money on fashion!

